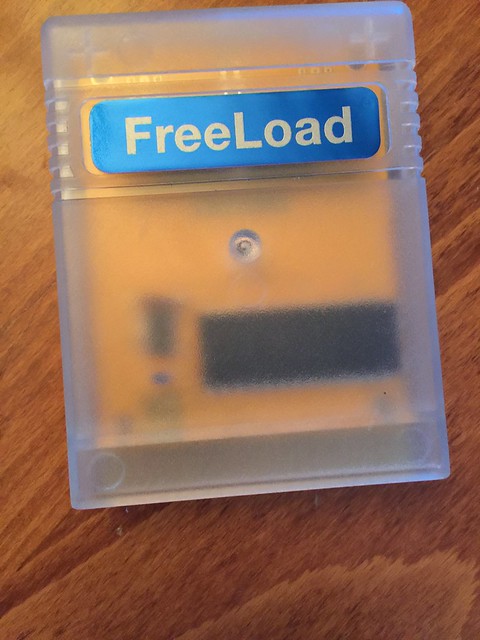
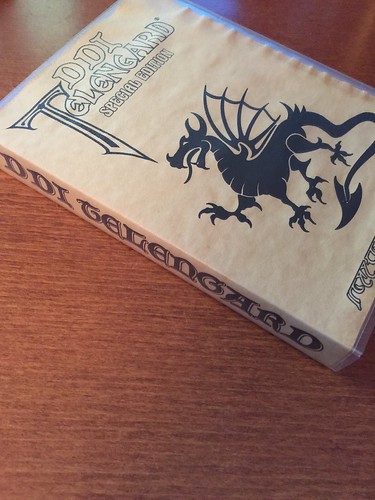
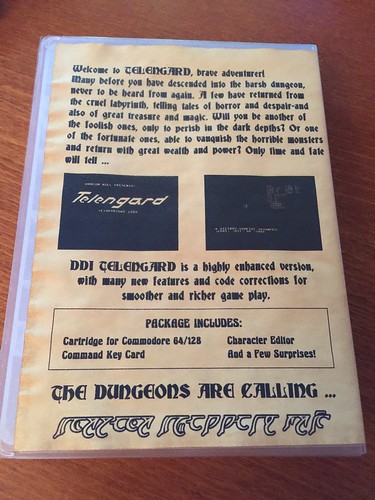
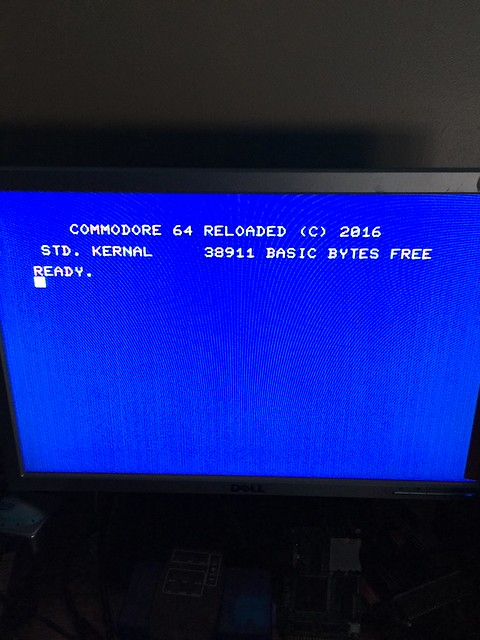
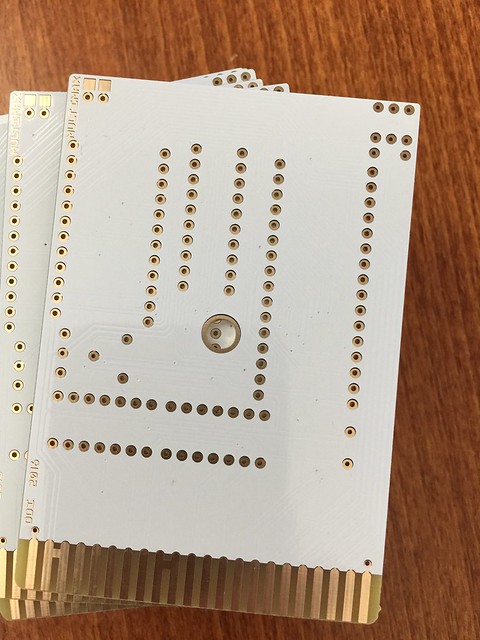
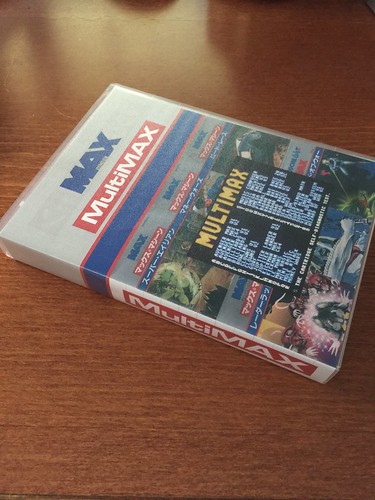
After we completed the Multimax clone, we moved on to other projects and those all included a nice case with artwork. I started thinking how many Multimax owners there were out there and how nice it would be to have a case.
I wanted something that resembled the original Max Machine cases. Something that was professional quality like the DDI Telengard cartridge.
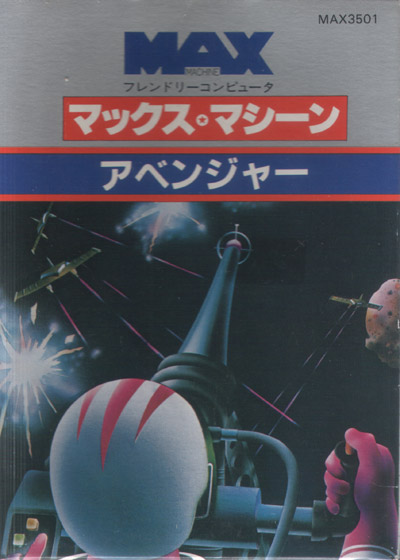
Avenger original box
After talking to a few of my friends about my idea, Silent700 stepped in and created the awesome cover you see here:
What a fitting accompaniment to such a great cart!! If you would like one they are $5 plus shipping (please see my Flickr account for even more great pictures of this!)
Victwenty.org
Victwenty.org is the place for news, reviews and new hardware for the Commodore Vic-20, Commodore 64 and other retro personal computers.
Monday, January 30, 2017
Thursday, December 15, 2016
Intro to programming an EEPROM with a 6502
The Kickstarter edition of the VIC-1112 IEEE-488 adapter has an EEPROM included on it to enable software updates or even general firmware hacking without removing the IC. These devices are simple to program, but not quite as simple as just poke'ing ram. The IC's need some time to complete a write before they can be accessed again, and indicate their finished state by returning the data that was written to them.
Let's explore the process of writing to an EEPROM using a generic 6502 system as a model, and expand on using a VIC-20 to do the work later. I tested some simple write code using byte mode to simplify the code's logic. Since the device is only 8,192 bytes it should finish in a reasonable time in spite of not using page mode.
Here's my first test, a simple program to write 256 bytes in a row to the EEPROM.
Let's add a timeout in the loop:
The change is pretty straightforward: the .X register is used as a timer since we can't assume the system has a hardware timer available. Datasheets indicate 10ms maximum is required for writing the EEPROM. Let's allow twice that. That requires the timeout to give up after a maximum of 20,000 cycles.
Let's evaluate the loop's minimal timing.
The total count inside the loop is fourteen cycles. Considering it will loop a maximum of 256 times before giving up, that's 3,584 cycles, or 3.5ms at 1MHz. We need to add another 16,340 cycles to the overall loop, which is 65 cycles per loop, minimum. Since the loop exits when the write's complete, waiting longer is harmless. There's a few ways to waste some time. NOP'ing it out is inefficient; requiring 22 NOPs. How about a nested loop? We're out of registers: .A is our value to compare, .X is the failure counter, and .Y is our index. We'll have to save and restore a register each time the loop runs, which is easiest to do with .A on NMOS 6502's. We'll use it for our nested loop counter.
Here's our proposed nested loop:
This requires 8 cycles on entry, and 5 on exit. The exit may look off; it's offset for the 'bne dloop' only taking two cycles instead of three when falling through. The center is 8 cycles, occuring 256 times. That's 2048 in all, or 2.048ms. Adding the head and tail brings us to 2061 cycles in all. With this, our compare loop interior becomes quite efficient at wasting time. The interior moves up from 14 cycles to 2075 cycles, and repeating 256 times gives a delay of 531,200 cycles, offering over a half second for the EEPROM to finish its write before the routine gives up on the EEPROM. Perfect!
Lets see the entire routine:
There are some considerations to be kept in mind when programming the EEPROM. First, you obviously can't be running code from the device while programming it. Data read back isn't valid until the write's complete. Second, if you're streaming from a file to the EEPROM, you'll have to ensure it's not being used to load the data from mass storage.
There are also many other considerations, such as the program's inability to program more than 256 bytes at a time.
Covering some of these as well as enabling write mode on the Kickstarter 1112 will be covered later on, as this was intended to be more of an intro post for programming EEPROMs on your system.
-David
Let's explore the process of writing to an EEPROM using a generic 6502 system as a model, and expand on using a VIC-20 to do the work later. I tested some simple write code using byte mode to simplify the code's logic. Since the device is only 8,192 bytes it should finish in a reasonable time in spite of not using page mode.
Here's my first test, a simple program to write 256 bytes in a row to the EEPROM.
zpsrc = $42 ; zp source pointer zpdst = zpsrc+2 ; zp pointer to EEPROM eeprom = $A000 ; just to have it defined code = $2100 ; etc. *= $2000 prog ldy #<code sty srcptr ldy #>code sty zpsrc+1 ldy #<eeprom sty zpdst ldy #>eeprom sty zpdst+1 ldy #$00 wloop lda (zpsrc),y ; get source sta (zpdst),y ; tell EEPROM to write cloop cmp (zpdst),y ; check to see if it's done bne cloop ; nope, check again iny bne wloop rts ; 256 bytes programmed.
This works well, but what if the EEPROM is faulty, or the code erroneously tries to program IO, open space, or ROM? What if the EEPROM is faulty and never responds with a success? It fails badly by never moving forward. This is bad practice as the user waiting for the EEPROM is left completely in the dark when it fails.
Let's add a timeout in the loop:
wloop lda (zpsrc),y ; get source sta (zpdst),y ; tell EEPROM to write ldx #$00 ; prepare timeout and give EEPROM a little more time cloop cmp (zpdst),y ; check to see if it's done beq wdone ; nope, check again inx ; count loops beq timeout ; did we overflow? We failed! bne cloop ; keep it as relocatable as we can wdone iny
The change is pretty straightforward: the .X register is used as a timer since we can't assume the system has a hardware timer available. Datasheets indicate 10ms maximum is required for writing the EEPROM. Let's allow twice that. That requires the timeout to give up after a maximum of 20,000 cycles.
Let's evaluate the loop's minimal timing.
sta (zpdst),y ; doesn't count, this is where we start ldx #0 ; 2 cloop cmp (zpdst),y ; 5 (6 if page boundaries are crossed) beq wdone ; 2 (exiting the loop doesnt count) inx ; 2 beq timeout ; 2 (again, exiting doesnt count) bne cloop ; 3 wdone iny ; we're out of the loop here.
The total count inside the loop is fourteen cycles. Considering it will loop a maximum of 256 times before giving up, that's 3,584 cycles, or 3.5ms at 1MHz. We need to add another 16,340 cycles to the overall loop, which is 65 cycles per loop, minimum. Since the loop exits when the write's complete, waiting longer is harmless. There's a few ways to waste some time. NOP'ing it out is inefficient; requiring 22 NOPs. How about a nested loop? We're out of registers: .A is our value to compare, .X is the failure counter, and .Y is our index. We'll have to save and restore a register each time the loop runs, which is easiest to do with .A on NMOS 6502's. We'll use it for our nested loop counter.
Here's our proposed nested loop:
pha ; 6 save .A for compare instruction lda #$00 ; 2 preset counter dloop clc ; 2 adc #$01 ; 2 count up bne dloop ; 3 until overflow pla ; 6 restore .A for compare instruction
This requires 8 cycles on entry, and 5 on exit. The exit may look off; it's offset for the 'bne dloop' only taking two cycles instead of three when falling through. The center is 8 cycles, occuring 256 times. That's 2048 in all, or 2.048ms. Adding the head and tail brings us to 2061 cycles in all. With this, our compare loop interior becomes quite efficient at wasting time. The interior moves up from 14 cycles to 2075 cycles, and repeating 256 times gives a delay of 531,200 cycles, offering over a half second for the EEPROM to finish its write before the routine gives up on the EEPROM. Perfect!
Lets see the entire routine:
zpsrc = $42 ; zp source pointer zpdst = zpsrc+2 ; zp pointer to EEPROM eeprom = $A000 ; just to have it defined code = $2100 ; etc. *= $2000 prog ldy #<code sty srcptr ldy #>code sty zpsrc+1 ldy #<eeprom sty zpdst ldy #>eeprom sty zpdst+1 ldy #$00 ; preset our index wloop lda (zpsrc),y ; get source sta (zpdst),y ; tell EEPROM to write ldx #$00 ; prepare timeout and give EEPROM a little more time cloop cmp (zpdst),y ; check to see if it's done beq wdone ; nope, check again pha ; save .A for compare instruction lda #$00 ; preset delay counter dloop clc ; adc #$01 ; count up bne dloop ; until overflow pla ; restore .A for compare instruction inx ; increment our timer beq timeout ; did we out of time? Error out bne cloop ; continue to next byte. wdone iny sta (zpdst),y ; tell EEPROM to write cloop cmp (zpdst),y ; check to see if it's done bne cloop ; nope, check again iny bne wloop clc ; indicate things are fine. bcc exit ; and exit timeout sec ; indicate write error exit rts ; 256 bytes programmed.
There are some considerations to be kept in mind when programming the EEPROM. First, you obviously can't be running code from the device while programming it. Data read back isn't valid until the write's complete. Second, if you're streaming from a file to the EEPROM, you'll have to ensure it's not being used to load the data from mass storage.
There are also many other considerations, such as the program's inability to program more than 256 bytes at a time.
Covering some of these as well as enabling write mode on the Kickstarter 1112 will be covered later on, as this was intended to be more of an intro post for programming EEPROMs on your system.
-David
Sunday, December 11, 2016
Freeload Cartridges now available!
After some trial an error with the new design, the redesigned Fastload clone FREELOAD, is now available from Victwenty.org!
Newly designed Freeload!
Freeload in my 64 Reloaded showing the activity light hidden under the label!
Freeload is 100% Epyx Fastload compatible and has been tested extensively with SD2IEC and normal Commodore peripherals.
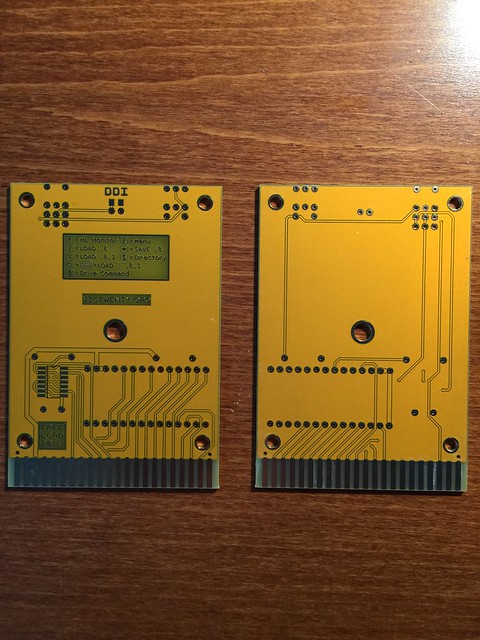
A big thank you to Dale at DDI for this newly redesigned PCB and thanks to Elecrow for not letting me down with not only function but form, these boards are beautiful!
Bare PCB
If you would like more info please check out DDIs website
These are available directly from me now and in my Etsy store before Christmas!!
Thursday, December 1, 2016
DDI Telengard Special Edition
After months of planning and talks about reissuing DDI Telengard on Cartridge, it has finally arrived. And it is better than ever! Back in 2014 DDI made a limited run of 10 Telengard Cartridges for ECCC/VCFMW and they were a hit!
2014 original cartridge
They sold out day one and after the show, the project was dead (I was the lucky recipient of the first as Dale knew I had a soft spot for the game!)
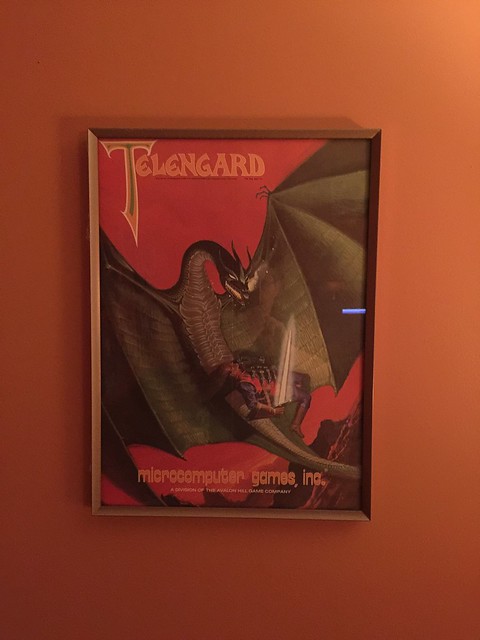
My Telengard poster in my living room
And that was that until earlier this year. I was going through my cart collection and thought it would be too bad if more people couldn't enjoy this game on cartridge. So after a few other projects wrapped up, I approached Dale about re-releasing the 2014 PCB. He was open to the idea but thought that just reissuing the original board wasn't enough for 2016. So the idea to go one better was born. After we finished our version of the Multimax project, we set our sights on Telengard!
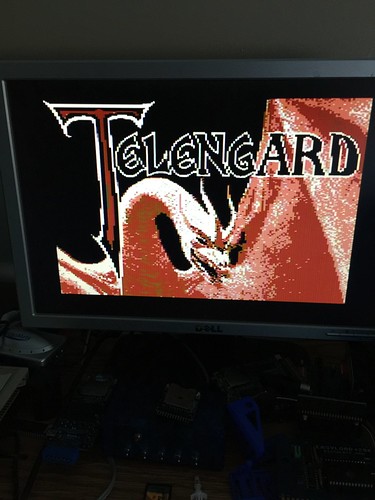
The first idea was to use a better board. Dale had many other designs and he came up with the idea to add a title screen and SID music. Dale compiled an excellent image which includes his Character Editor and many other easter eggs (he says I probably haven't found them all myself) and we set about testing the image in an old version of WinVICE.
Awesome title screen
In mid October I sent the PCB design out to the board house to be manufactured and started thinking about cartridge cases and artwork. I was seriously considering just making a cartridge label and calling it a day until I happened upon DrunknRetros website. He had made some really nice looking artwork to go with his CPR3 based copy of Telengard.
I immediately emailed him about the possibility of doing something similar for this release. What I found was a kindred spirit in Derek and he was happy to oblige. I have to say he went above and beyond to make this release something special. I know he has the same nostalgic feelings about these games as I do and I am happy to have made another new friend in the retro scene.
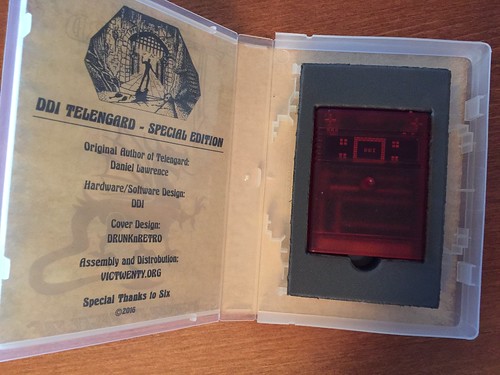
Ridiculously cool artwork by DrunknRetro
So with an awesome new cartridge image and incredible artwork (the pages are all hand stained and aged) we have put together what I consider a commercial quality release.
There are a few surprises, some the easter eggs in the image I spoke about and one that I will not have a picture of here yet, but it certainly gives this release a 1980s era feel for packaging.
If you have not seen or heard of DDI Telengard, please read the DDI Telengard History linked on the right hand side of this page. It was written by Dale himself and is a great read.
I cannot thank Dale and Derek enough for making this project possible, I could not have done it without them!
If you would like to buy one of these, I will have them for sale starting Saturday Dec 2nd and will post an update at the start of World of Commodore!
Wednesday, November 30, 2016
Late but long winded product update
Well, it has been a busy month, I have almost finished up the VIC-1112 shipments (yes this is really happening!) and also got to work on a few other projects.
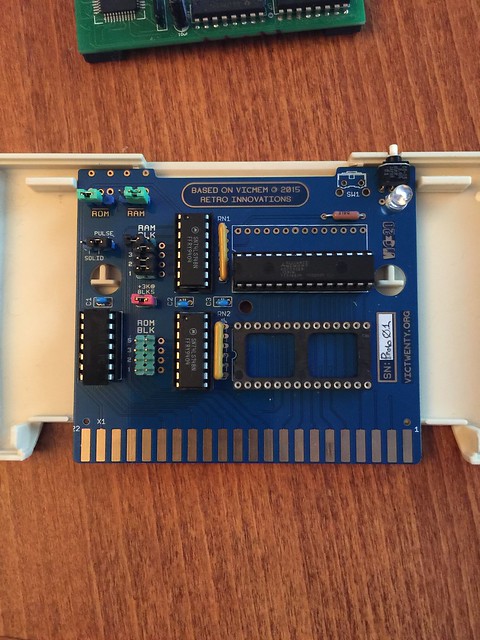
The first up is the VICMEM 2, which is a selectable RAM/ROM Cart for the VIC-20.
This Cart allows you to put RAM in BLKs 1/2/3/5 as well as a normal 3k expansion in BLK 5.
You can also map the ROM (27c64/28c64) to BLKs 1/2/3/5 or any combination thereof.
Other "features" are reset switch(provisions for two styles), LED (hey, blinky lights are a feature), RAM and ROM disable Jumpers and switches, provisions for DIP switches for BLK selection and it, of course, fits a standard VIC-20 cartridge case.
My hope is jumpstart VIC cartridge development with this universal design. If you wanted a strictly ROM cart for something like a game release, you do not need to fully populate the board, just put jumpers in the right spot, add the ROM and go. So its really cheap to use. If you have an idea or something to release, I can help you, with hardware and distribution.
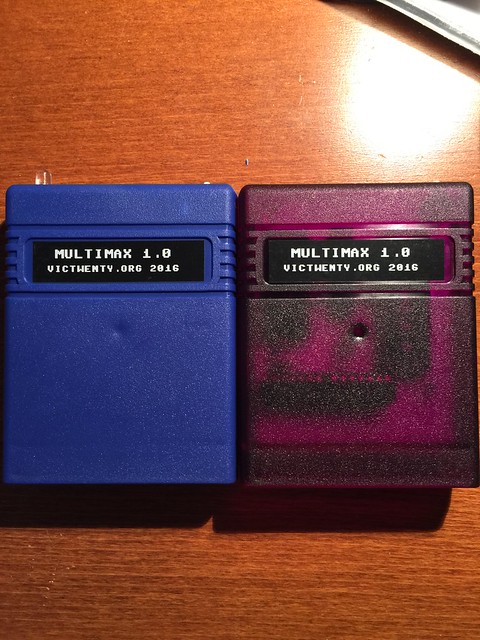
Next up is we completed and sold out of the Multimax Cartridges. I had a second run of boards made as we had an error on them, but I have been in contact with the authors and will probably not release them. here is a pic of the completed carts:
There is an LED in the cart (feature, remember?) and they worked flawlessly!
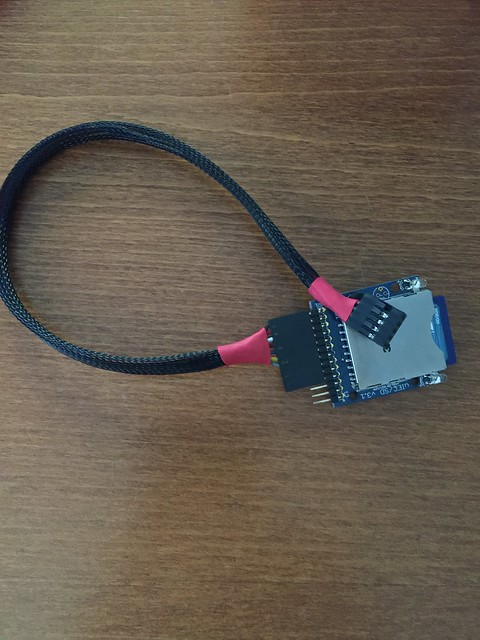
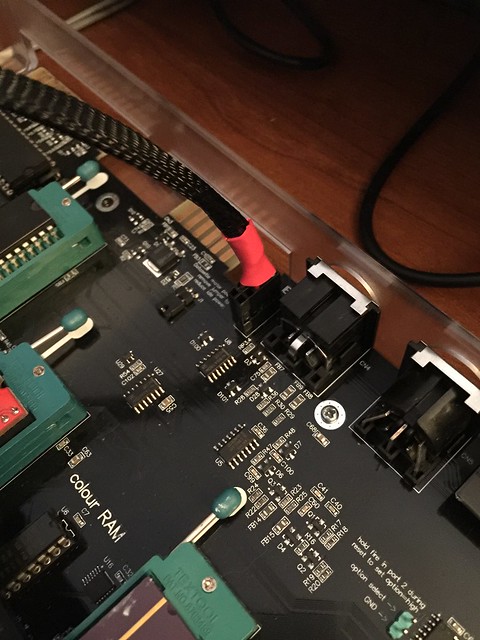
Next up is a wiring harness that allows you to connect a uIEC to your C64 Reloaded internal IEC header! This makes installing a uIEC into your Reloaded project a breeze! (and they look great too!)
Since I did that, I decided to make some custom JiffyDOS ROMs for the REloaded board as well. These contain a customized version of the stock and JiffyDOS Kernals (I order an overlay from Jim Brain for easch ROM sold, no piracy here) as well as a second character rom!
The next and last project is the DDI Telengard Special Edition Cartridge, which I will reserve for my next post as this post is very long.
If you are interested in any of the product above, or you have a VIC-20 or C64 Project you would like to release on cartridge, please let me know. I am happy to help and can provide you with a wide range of options on manufacturing and distribution.
Friday, October 7, 2016
Multimax PCBs Arrived
After waiting quite a while to see if there would be a new run of the Multimax cartridge I decided to make a few for myself and my friends. Also, not being one to leave well enough alone, I had DDI make a few tweaks to the design
So as you can see, I did the PCB in white (looks incredible) and I also did ENIG (gold) for the traces. Longevity is increased and it is visually appealing!!
If you are interested in one (I did a limited quantity (15) so as not to step on the toes of the original designers) please use the contact form to let me know, the cost is $35 plus shipping. I will post an update once I am ready to ship. It will go in the following order. Me, Friends that contributed to the design (hi DDI) pre-paid orders, pre-orders , anything that is left after pre-orders (or pre-orders that do not receive payment within 7 days of being notified) will be sold on ebay.
You can do a paid pre-order HERE!
Friday, September 30, 2016
New Vicmon version found
Intrigued, I decided to give it a try and see what, if any, differences I could find. Imagine my surprise at this:
Interesting. This version is color coded! The commands all seem to be the same and I have found no other real features other than color. But this got me curious, so I dumped the rom. I checked Zimmers and they had 2 roms named vicmon 2. Surely this was just one of those... After comparing the dumps, it was definitely "new"
I am not sure if this was someones personal modification or some unofficial release, but it was definitely cool to find. I will be sending the dump to Bo to host with all the other images he has.
Now I wanted to see what was inside...
So there it is. a modified original commodore PCB with a 2816 EEPROM. Conclusion? Most likely a homemade hack of Vicmon. But finding something that doesn't seem to be out there anywhere is definitely getting rare these days!
Subscribe to:
Posts (Atom)